I finally got to bake! I say that because my work has kept me so absolutely crazy and I have been working about 12 – 15 hours a day. Baking is one of my stress reliefs so when I don’t get to, I am a little cranky.
So even on one of the hottest days we’ve had this year, I decided to bake a cake. I had been watching the Greatest British Baking Show and they were doing some sort of cream pies. So that prompted me to want a Boston Cream Pie. No idea, it’s not really a pie, but it sounded really delicious at the time (and was when I ate it).
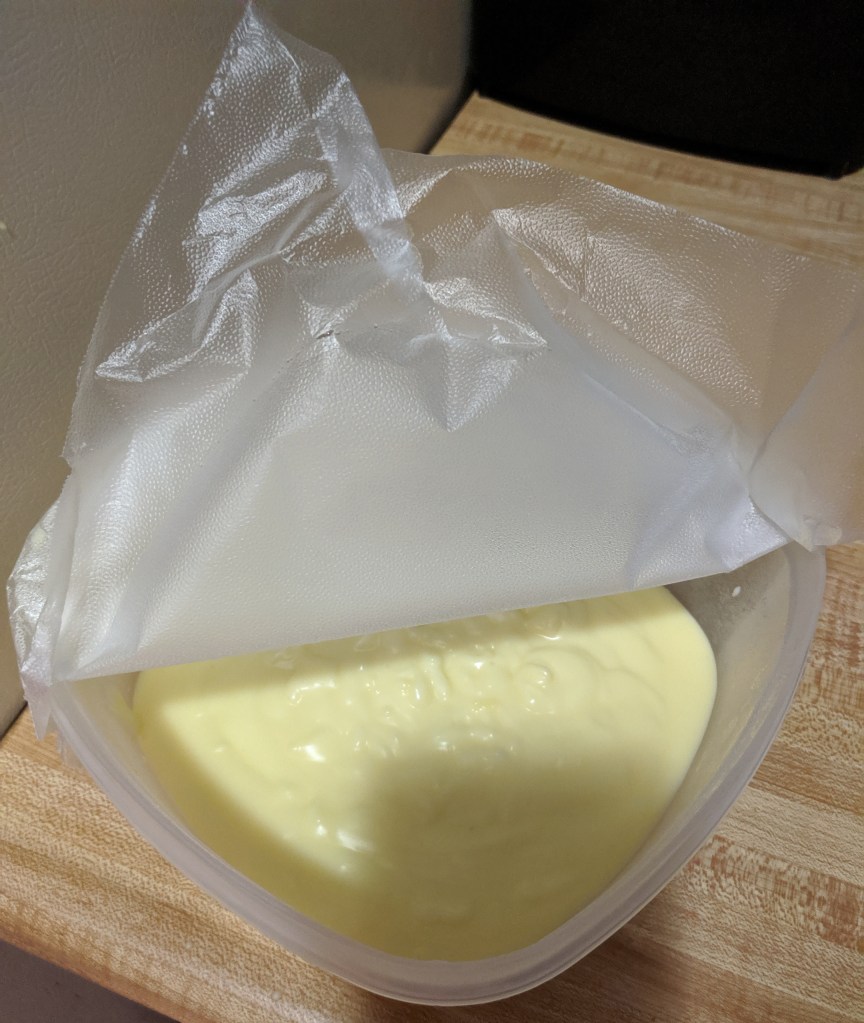
So first thing you do is make the pastry cream. This time I used real milk.
I say this because if you haven’t noticed, I normally use Soy. That is because long time ago my doctor told me to switch and I now rarely use milk. I have been asked if I’m a vegetarian or semi Vegan. No, I’m not. Just over the many years of baking, I actually came to realize I get a moister cake by using Soy as well. So normally, that’s what I use.
Anyway… I used real milk this time because I’m horrible at making pastry creams and I was already substituting the sugar so, I wanted to try to make it easier for me. It’s fairly simple, but you need to make sure you don’t scramble your eggs. You can do this by taking a 1/2 cup of the hot liquid and put it into the eggs, whipping it while you add it. Then add it to the rest of the milk mixture. I still seem to fail at this step quite often (after walking baking shows… I see I’m not the only one).
Once it is all mixed, put it into a bowl, cover it with plastic wrap and chill in fridge.
Now time to move onto the cake. This is done right after the pastry cream, no need to wait. The cake is a straight forward vanilla cake baked in 2 9-inch round pans. The only thing I noticed that the original recipe (gotten from: Live, Love and Sugar: Easy Boston Cream Pie) is that it called for a ton of butter and oil. I cut that down to save calories, fat, and a worry of my cholesterol. I didn’t notice any difference in the moisture or taste by omitting a couple tablespoons or butter.
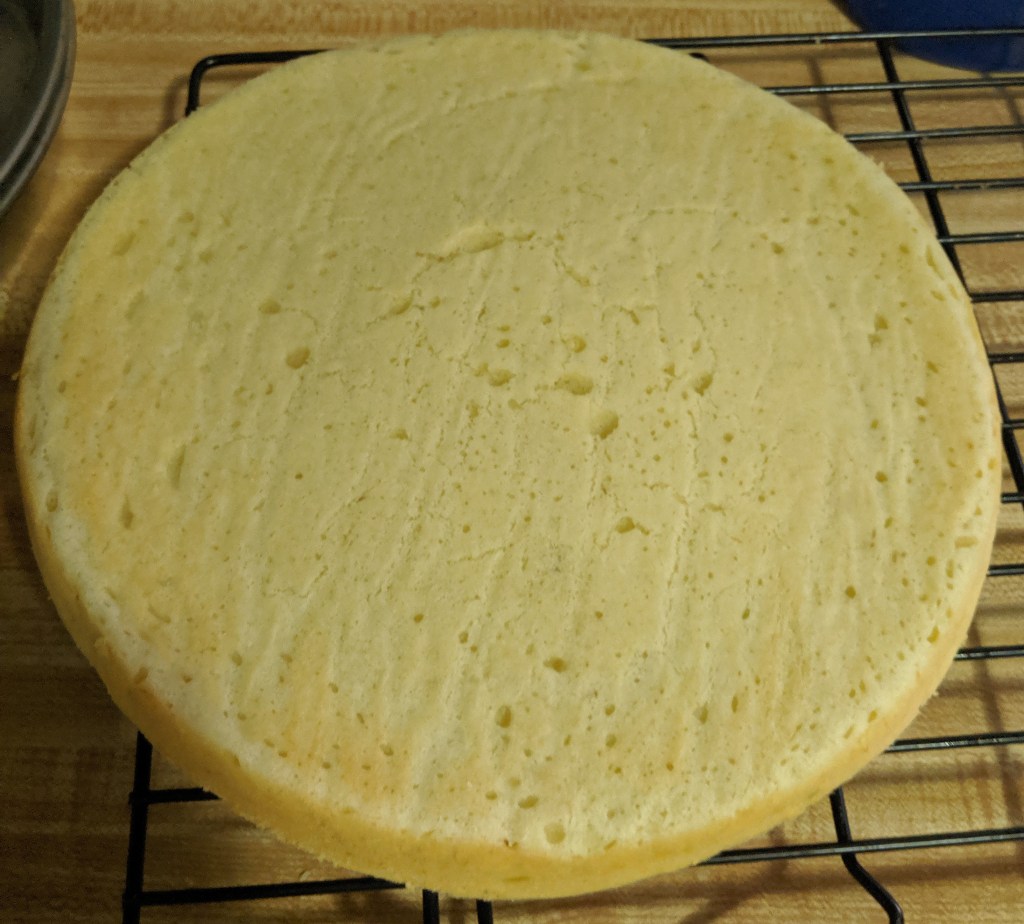
Cakes need to fully cool before you put them together and start making the ganache. Took about 30 minutes (even in 98 degree weather, my air conditioner is not that great).
After they are cooled, start making the ganache. It’s easy, boil the cream and add it to chocolate and Karo syrup. Let the cream melt the chocolate for 90 seconds then whip it together. Done!
Now to assemble the cake. Take the pastry cream out of the fridge, using a large knife or spatula spread the cream on top of one of the cakes.
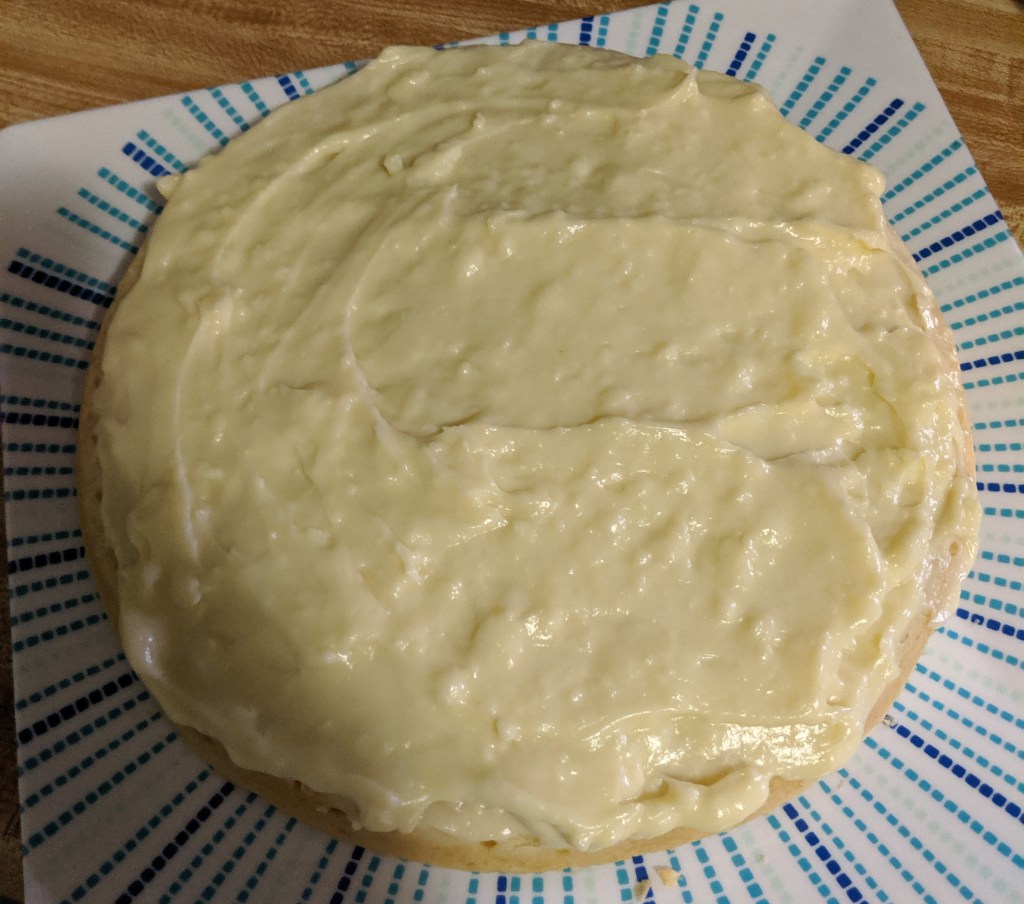
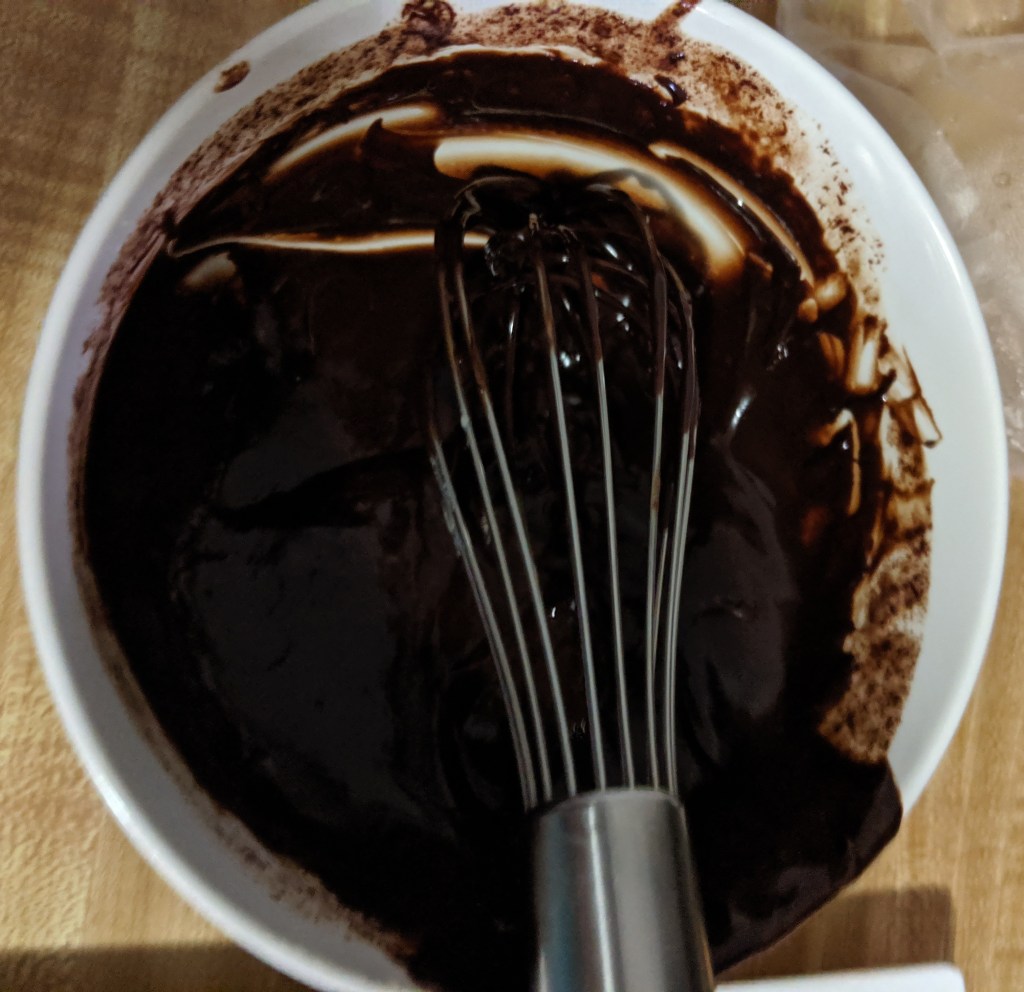
When all used and spread evenly, put the 2nd cake on top. Then take the ganache and spread it over the top like frosting. Let it drip down the sides. There is no need to be super careful, make it as neat or messy as you like. Then chill for 30 minutes and enjoy!
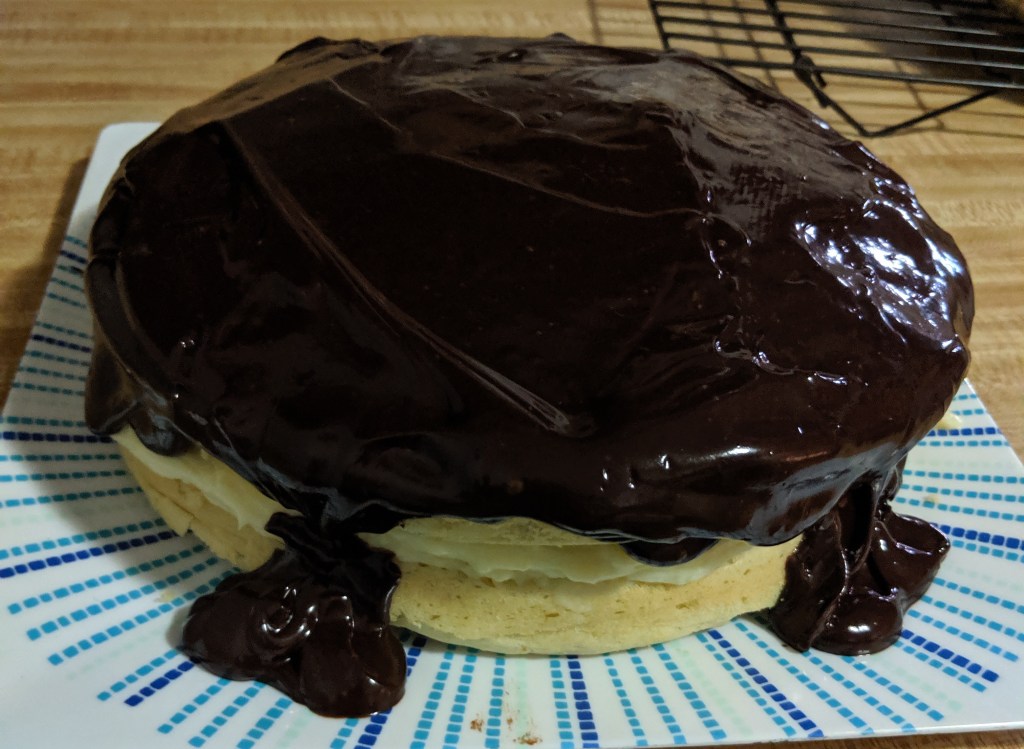
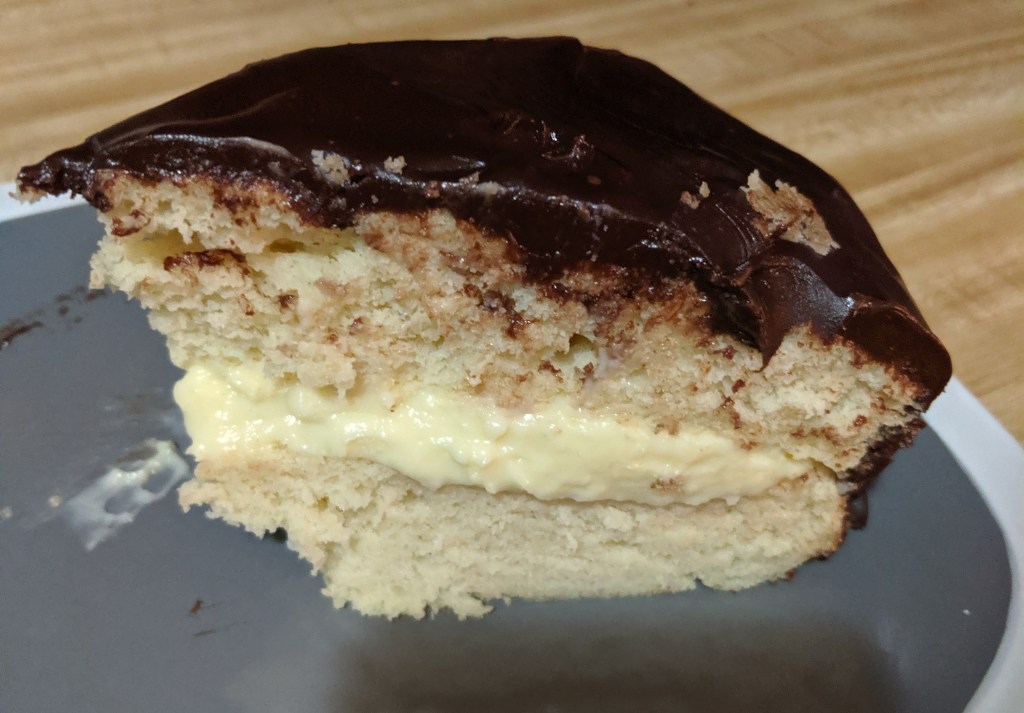
Boston Cream Pie
Ingredents
PASTRY CREAM
- Pastry Cream
- 4 egg yolks
- 1 cup Stevia
- 4 tbsp cornstarch
- 2 cups milk
- 2 tbsp unsalted butter, room temperature
- 2 tsp vanilla extract
- Vanilla Cake
- 2 1/2 cups Gluten-Free all purpose flour
- 3 1/2 tsp Gluten-Free baking powder
- 1/2 tsp salt
- 10 tbsp unsalted butter, room temperature
- 2 cups Stevia
- 3 tbsp vegetable oil
- 1 tbsp vanilla extract
- 4 large eggs
- 1 1/4 cups milk
- Choclate Ganache
- 6 oz (1 cup) dark chocolate chips
- 2 tbsp corn syrup
- 1/2 cup heavy whipping cream
Instructions:
- Pastry Cream
- Separate egg yolks and put into a small bowl. Gently beat them and set aside.
- Add Stevia, cornstarch and milk to a medium sized sauce pan and whisk until smooth. Stirring constantly, over medium heat, bring to a simmer and simmer for 2 minutes. (When you start the 2 minutes is when it barely begins to bubble).
- Remove from heat.
- Take 1/2 a cup of milk mixture and whisk it into the eggs. This helps you not to get scrambled eggs (they say ensures, but I know they can still scramble, so I say helps)
- Once they are mixed and the eggs are smooth, pour into the rest of the milk mixture and whisk together.
- Put pan back on medium heat and bring to a boil, whisking constantly. Boil for 2 minutes.
- Remove from heat and pour into a medium sized bowl.
- Whisk butter and vanilla into the egg mixture.
- Cover with plastic wrap and refrigerate.
- Vanilla cake
- Prepare pans by spraying with oil and lining with parchment paper
- Preheat oven to 350 degrees.
- Sift the flour, baking powder and salt in a medium sized bowl. Set aside
- Beat the butter, Stevia and oil in a large bowl (either with a hand mixer or electric) until light in color and fluffy. About 3 minutes.
- Add the eggs and vanilla extract and mix until combined and smooth. Add 1/2 the dry ingredients and mix until combined
- Add milk and mix until smooth
- Add the rest of the dry ingredients and mix until everything is combined. Do not over mix.
- Divide batter evenly between the cake pans and bake for 25 minutes (it took the entire time and they are very pale. But they are done if the toothpick come out clean)
- Remove the cakes and let cook in pan for 5 minutes
- Move cakes from pan to cooling racks and let cool completely (about 30 minutes)
- Chocolate Ganache
- Put heavy whipping cream into a small sauce pan and bring to a boil.
- While heavy whipping cream is coming to a boil. Place the chocolate and Karo syrup in a small bowl.
- Take the heavy whipping cream and pour it over the chocolate and Karo syrup. Let sit for 90 seconds.
- Whisk the cream and chocolate together. It will become dark and shiny.
- Assembly
- Take pastry cream out of the refrigerator
- Whisk pastry cream until less clumpy (still will be a little, that’s okay)
- Using a spatula or large knife spread pastry cream over one cake
- Once all cream is spread evenly across the one cake take 2nd cake and place on top.
- Spread ganache like frosting over the top of cake, dripping down the sides (no need to be neat)
- Refrigerate for 30 minutes
- Serve and enjoy!