Cakes - GF · Gluten Free

Boston Cream Pie

I finally got to bake! I say that because my work has kept me so absolutely crazy and I have been working about 12 – 15 hours a day. Baking is one of my stress reliefs so when I don’t get to, I am a little cranky.
So even on one of the hottest days we’ve had this year, I decided to bake a cake. I had been watching the Greatest British Baking Show and they were doing some sort of cream pies. So that prompted me to want a Boston Cream Pie. No idea, it’s not really a pie, but it sounded really delicious at the time (and was when I ate it).

So first thing you do is make the pastry cream. This time I used real milk.
I say this because if you haven’t noticed, I normally use Soy. That is because long time ago my doctor told me to switch and I now rarely use milk. I have been asked if I’m a vegetarian or semi Vegan. No, I’m not. Just over the many years of baking, I actually came to realize I get a moister cake by using Soy as well. So normally, that’s what I use.
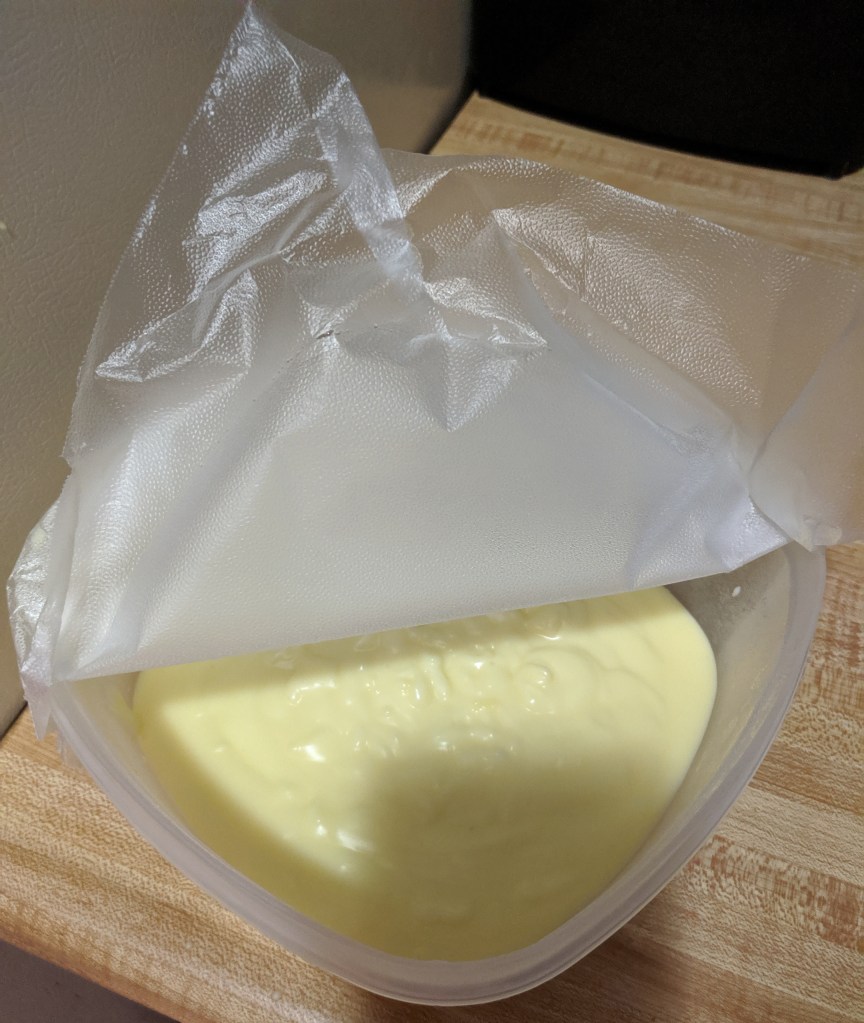
Anyway… I used real milk this time because I’m horrible at making pastry creams and I was already substituting the sugar so, I wanted to try to make it easier for me. It’s fairly simple, but you need to make sure you don’t scramble your eggs. You can do this by taking a 1/2 cup of the hot liquid and put it into the eggs, whipping it while you add it. Then add it to the rest of the milk mixture. I still seem to fail at this step quite often (after walking baking shows… I see I’m not the only one).

Once it is all mixed, put it into a bowl, cover it with plastic wrap and chill in fridge.
Now time to move onto the cake. This is done right after the pastry cream, no need to wait. The cake is a straight forward vanilla cake baked in 2 9-inch round pans. The only thing I noticed that the original recipe (gotten from: Live, Love and Sugar: Easy Boston Cream Pie) is that it called for a ton of butter and oil. I cut that down to save calories, fat, and a worry of my cholesterol. I didn’t notice any difference in the moisture or taste by omitting a couple tablespoons or butter.
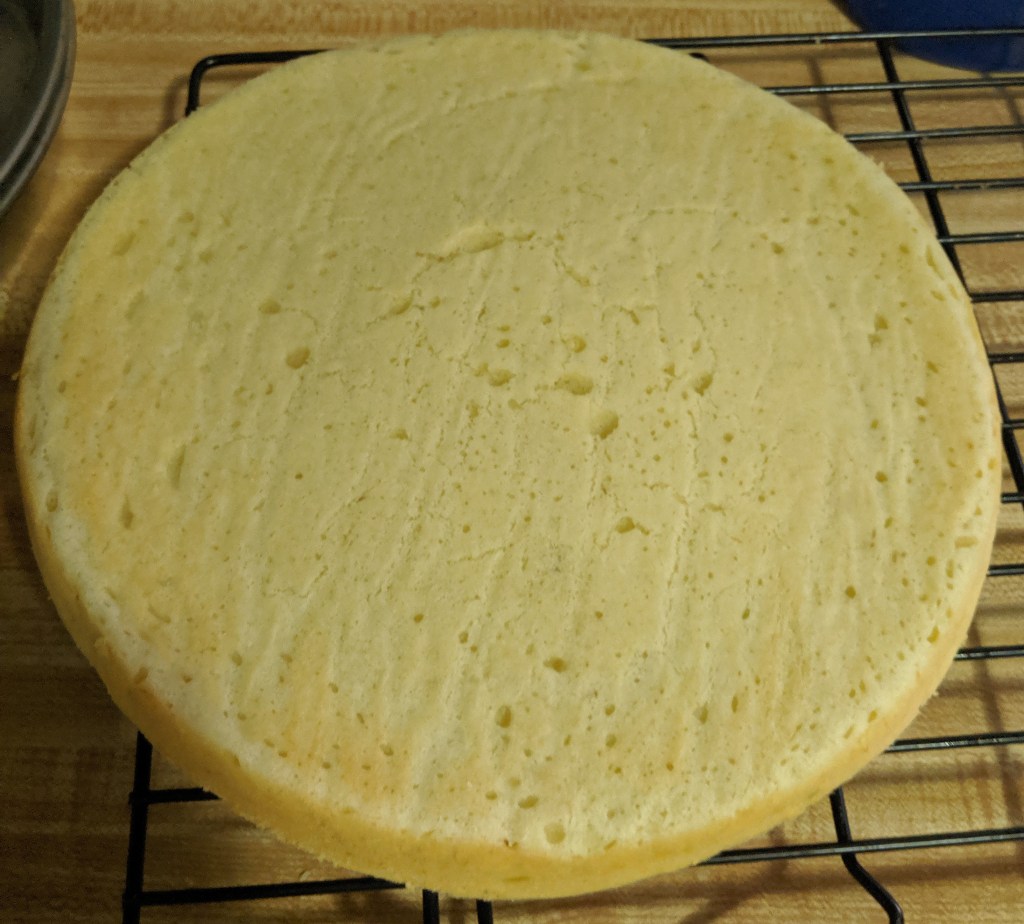
Cake after it’s out of oven

Cakes need to fully cool before you put them together and start making the ganache. Took about 30 minutes (even in 98 degree weather, my air conditioner is not that great).
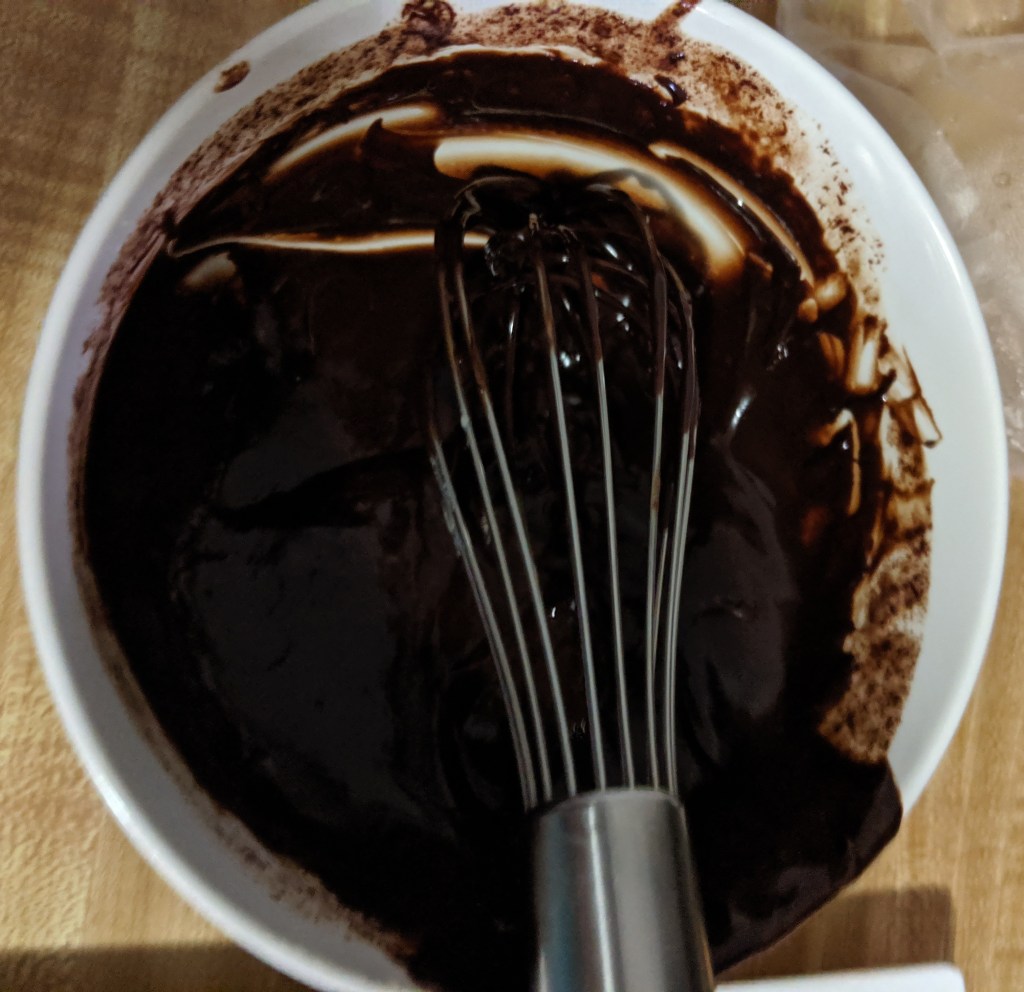
After they are cooled, start making the ganache. It’s easy, boil the cream and add it to chocolate and Karo syrup. Let the cream melt the chocolate for 90 seconds then whip it together. Done!
Now to assemble the cake. Take the pastry cream out of the fridge, using a large knife or spatula spread the cream on top of one of the cakes.
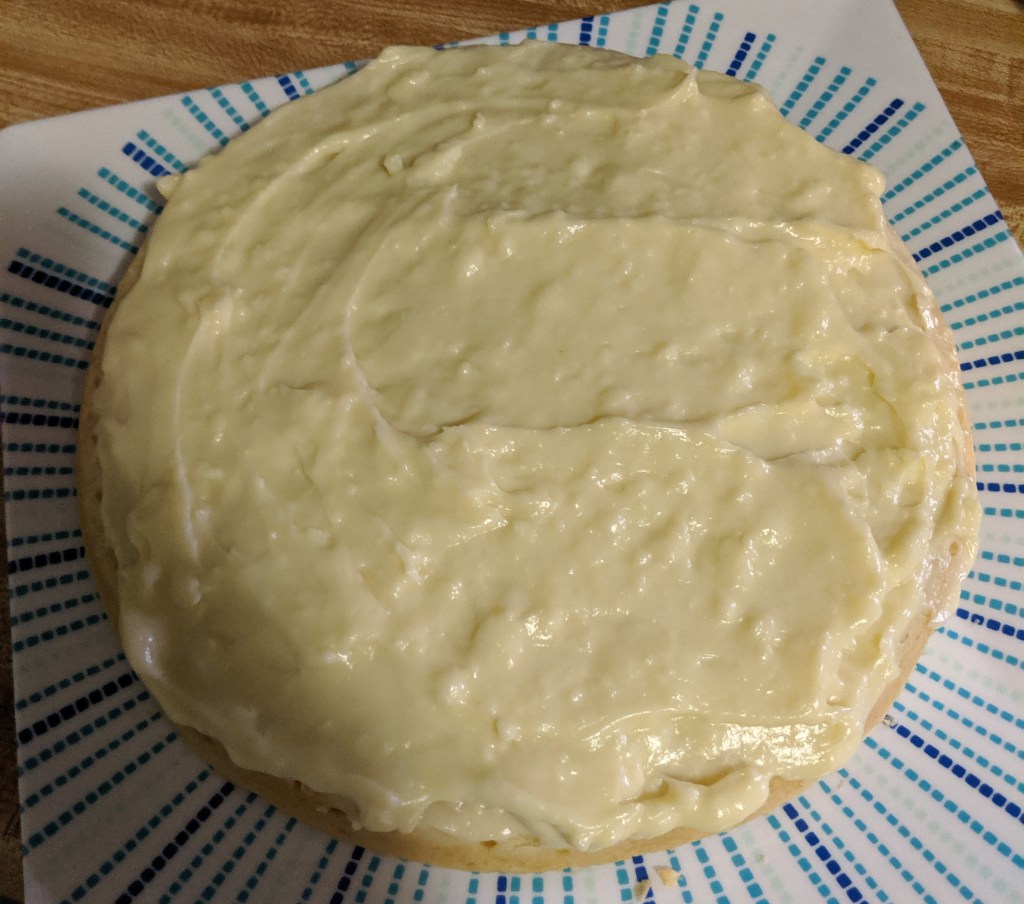
cake covered with pastry cream
ganache after whipped

When all used and spread evenly, put the 2nd cake on top. Then take the ganache and spread it over the top like frosting. Let it drip down the sides. There is no need to be super careful, make it as neat or messy as you like. Then chill for 30 minutes and enjoy!
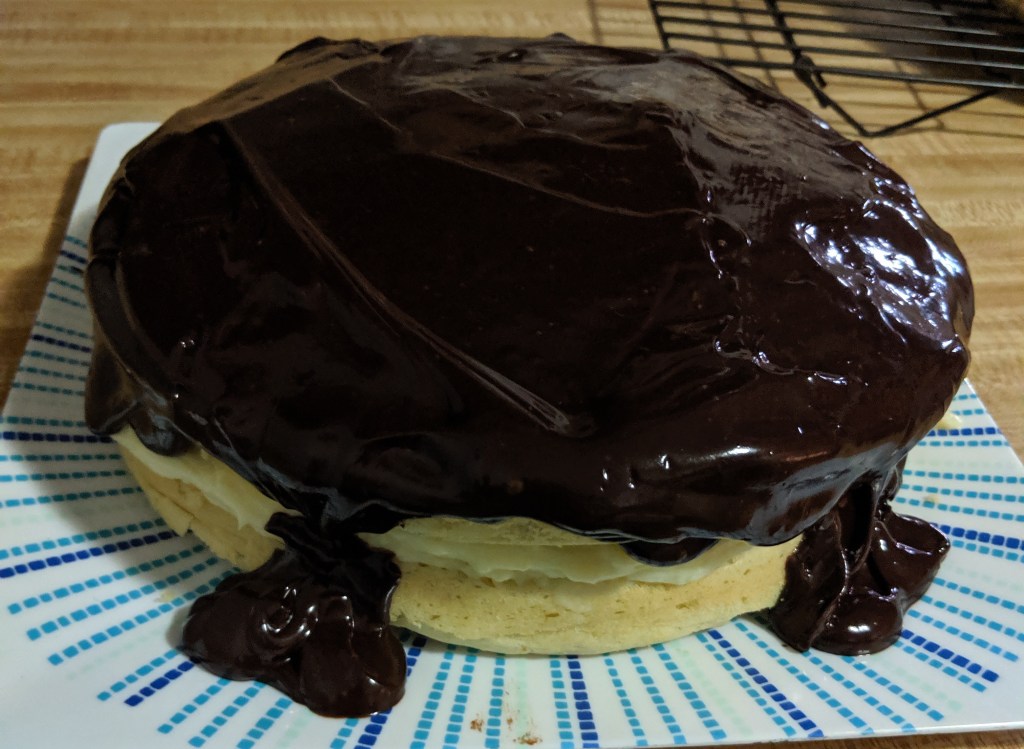
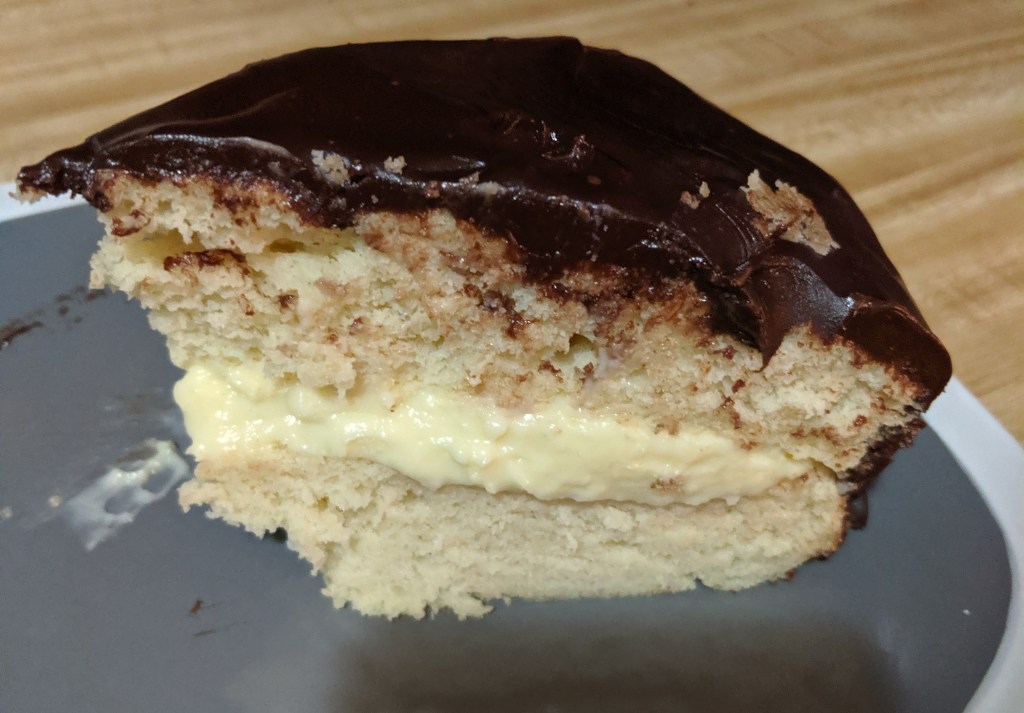
Boston Cream Pie

Ingredents

PASTRY CREAM

  • Pastry Cream
    • 4 egg yolks
    • 1 cup Stevia
    • 4 tbsp cornstarch
    • 2 cups milk
    • 2 tbsp unsalted butter, room temperature
    • 2 tsp vanilla extract
  • Vanilla Cake
    • 2 1/2 cups Gluten-Free all purpose flour
    • 3 1/2 tsp Gluten-Free baking powder
    • 1/2 tsp salt
    • 10 tbsp unsalted butter, room temperature
    • 2 cups Stevia
    • 3 tbsp vegetable oil
    • 1 tbsp vanilla extract
    • 4 large eggs
    • 1 1/4 cups milk
  • Choclate Ganache
    • 6 oz (1 cup) dark chocolate chips
    • 2 tbsp corn syrup
    • 1/2 cup heavy whipping cream

Instructions:

  • Pastry Cream
    • Separate egg yolks and put into a small bowl. Gently beat them and set aside.
    • Add Stevia, cornstarch and milk to a medium sized sauce pan and whisk until smooth. Stirring constantly, over medium heat, bring to a simmer and simmer for 2 minutes. (When you start the 2 minutes is when it barely begins to bubble).
    • Remove from heat.
    • Take 1/2 a cup of milk mixture and whisk it into the eggs. This helps you not to get scrambled eggs (they say ensures, but I know they can still scramble, so I say helps)
    • Once they are mixed and the eggs are smooth, pour into the rest of the milk mixture and whisk together.
    • Put pan back on medium heat and bring to a boil, whisking constantly. Boil for 2 minutes.
    • Remove from heat and pour into a medium sized bowl.
    • Whisk butter and vanilla into the egg mixture.
    • Cover with plastic wrap and refrigerate.
  • Vanilla cake
    • Prepare pans by spraying with oil and lining with parchment paper
    • Preheat oven to 350 degrees.
    • Sift the flour, baking powder and salt in a medium sized bowl. Set aside
    • Beat the butter, Stevia and oil in a large bowl (either with a hand mixer or electric) until light in color and fluffy. About 3 minutes.
    • Add the eggs and vanilla extract and mix until combined and smooth. Add 1/2 the dry ingredients and mix until combined
    • Add milk and mix until smooth
    • Add the rest of the dry ingredients and mix until everything is combined. Do not over mix.
    • Divide batter evenly between the cake pans and bake for 25 minutes (it took the entire time and they are very pale. But they are done if the toothpick come out clean)
    • Remove the cakes and let cook in pan for 5 minutes
    • Move cakes from pan to cooling racks and let cool completely (about 30 minutes)
  • Chocolate Ganache
    • Put heavy whipping cream into a small sauce pan and bring to a boil.
    • While heavy whipping cream is coming to a boil. Place the chocolate and Karo syrup in a small bowl.
    • Take the heavy whipping cream and pour it over the chocolate and Karo syrup. Let sit for 90 seconds.
    • Whisk the cream and chocolate together. It will become dark and shiny.
  • Assembly
    • Take pastry cream out of the refrigerator
    • Whisk pastry cream until less clumpy (still will be a little, that’s okay)
    • Using a spatula or large knife spread pastry cream over one cake
    • Once all cream is spread evenly across the one cake take 2nd cake and place on top.
    • Spread ganache like frosting over the top of cake, dripping down the sides (no need to be neat)
    • Refrigerate for 30 minutes
    • Serve and enjoy!
Cakes - GF · Gluten Free

Orange Poppy-seed Cake

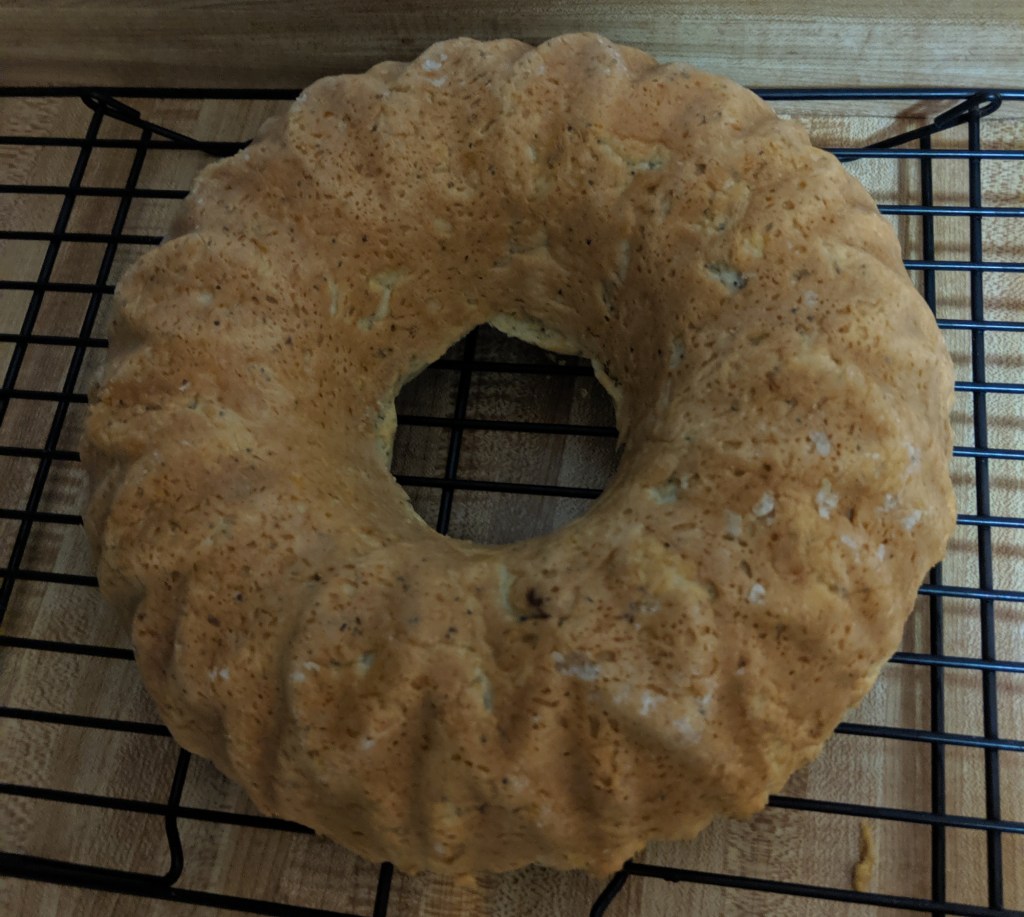
My local gluten-free bakery makes this delicious orange poppy-seed cupcake. It is my favorite treat that I can eat every once in a full moon (they still use regular sugar, so I have to limit it). So, my friend and I decided to do this as one of our cupcake tests for the cupcake wars. Well… that is what was supposed to happen. However, illness still seems to plague the land and I ended up just making it as stated in the recipe, a bundt cake.

One thing to note about this recipe, it calls for cake flour. I’ve never found Gluten-Free cake flour in the stores. So I’ve always made my own. I simply take out one tablespoon of flour for every 1/2 cup I use and replace it with cornstarch. However, for this recipe I took out 2 tablespoons of flour and didn’t replace it. The dough was looking really dense and I felt adding more would make it inedible.

The cake ended up needing to cook for an hour. 15 minutes more than the original recipe (from Real House Moms) called for. Gluten-Free baking, what do you do? I also thought it was going to come out super dense. When I spooned it into the bundt pan it was, I felt it looked closer to cookie dough than cake dough. However, it came out super moist and delicious. I also found it is a recipe that is still delicious at room temperature, no warming it up via oven or microwave. If you like ice cream, I highly recommend this cake with vanilla ice cream. Such a great treat!

I have come to realize I’m horrible at taking pictures. I think it is sometimes when I am baking I just want the finished product because I’m hungry… then I realize I am blogging about this and I didn’t take pictures! So sorry. All I have is the finished cake.


Orange Poppy-Seed Cake

Ingredents

  • 1 1/2 sticks unsalted butter at room temperature
  • 1 3/4 cups Stevia
  • 3 large eggs at room temperature
  • 4 tablespoons orange zest
  • 2 1/2 tablespoons orange juice
  • 1 1/4 cups natural sour cream
  • 2 1/4 cups Gluten-Free cake flour
  • 2 teaspoons Gluten-Free baking powder
  • 1/2 teaspoon baking soda
  • 1/2 teaspoon kosher salt
  • 3 teaspoons poppy-seeds

Instructions

  • Prepare bundt pan by greasing and flouring it.
  • Preheat oven to 350 degrees.
  • In a small mixing bowl, sift together cake flour, baking powder, baking soda, poppy seeds and salt, set aside.
  • In a large mixing bowl, using either a hand mixer or stand mixer; cream together the butter and sugar until light and fluffy (about 2 minutes)
  • Add in the eggs one at a time, allowing each egg to mix in fully before adding the next egg.
  • Stir in the orange zest, orange juice and sour cream.
  • Reduce the speed to low and stir in the flour mixture until combined, scraping down the bowl as needed.
  • Spoon in the batter into the prepared pan. (It will look very dense). Spread out batter out evenly using a spatula or knife
  • Bake for 50 – 60 minutes. Until cake is light golden brown and cake tester comes out clean in several areas.
  • Cool cake in pan for 10 minutes
  • Remove cake from pan and transfer to wire rack. Let cool for another 15.
  • Enjoy!
Cakes - GF · Gluten Free

Chocolate Cravings

I’m not a huge chocolate fan. I’ve just never really cared for the stuff. However, there have been a few recipes that I have really enjoyed the chocolate in them. This chocolate cake is one of them. Everyone to whom I have made it for has always had more than once piece. Up until this past week I had not had it in 2 years, since I was forced to change my diet. I knew it was going to be an adventure and it was. Although, I’ve had this cake explode in the over before and that didn’t happen, so it was one of my less adventurous times.

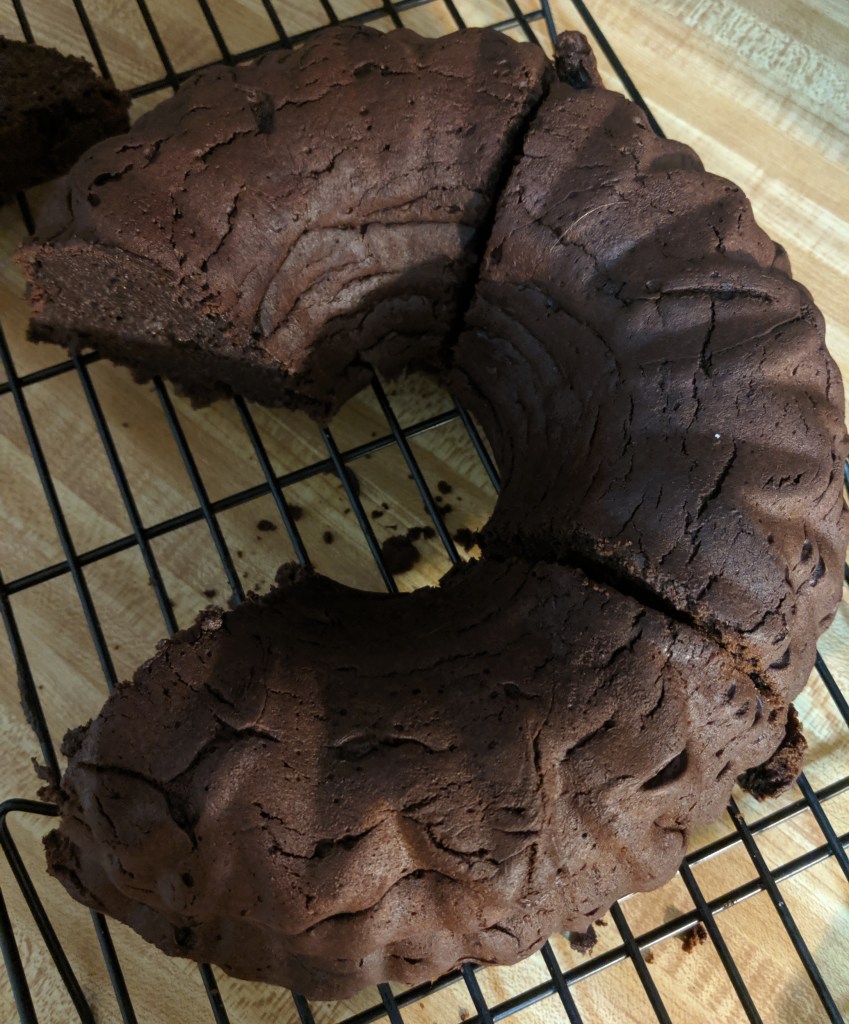
Another thing, I forgot to take pictures! I was so in the zone of making it, I only took a picture of the finished product. But it’s pretty straight forward. Follow the instructions and you’ll be fine.
One other thing… for this cake you need a LARGE bundt pan. I tried making it once with a smaller one and it well… ended up all over my oven. Also ensure that you spread it out evenly throughout the pan and there are not any air pockets. I’ve not done this twice (you think I’d learn) and had explosions in my oven.

What I learned from making it with Gluten Free flour and sugar free chocolate is that it takes 30+ extra minutes to cook. At the hour and 20 minutes the recipe calls for it was still raw. At an hour and 35 minutes it was gooey, but still raw. At an hour and 50 minutes it was brownie texture, which is when I took it out. Although, I wish I had left it in longer. The friend I shared it with loved it at the brownie texture, so it is up to your preference. So next time I make it, I will cook it for at least 2 hours.

But if you are a lover of chocolate and cake, this is one of the best recipes I have ever had. It is adapted from one of my favorite baking blogs Lemon Sugar. Lemon Sugar: Chocolate Syrup Bundt Cake.


Chocolate Syrup Bundt Cake

Ingredients:

  • Cake
    • 8 oz dark chocolate or sugar free chocolate chips
    • 2 cups sugar free chocolate syrup
    • 1 cup (2 sticks) butter, softened
    • 2 1/4 cups Stevia
    • 4 large eggs
    • 2 1/4 cups Gluten Free all-purpose flour
    • ½ teaspoon baking soda
    • ¼ teaspoon salt
    • 1 cup buttermilk
    • 1 teaspoon vanilla extract
  • Pan Prep
    • 2 Tablespoons unsalted butter, melted
    • 2 Tablespoons cocoa powder

Instructions:

  • Pan Prep:
    • Mix together butter and cocoa powder
    • With a pastry brush, spread mixture around the Bundt pan until it is completely covered. Set aside.
  • Cake Prep:Preheat over to 325°.
    • Melt chocolate in a double broiler (if you do not have a double broiler it can be done in the microwave, checking it every 30 seconds).
    • Once chocolate is melted, remove from heat and whisk in chocolate syrup. Set aside.
    • Beat butter at medium speed with an electric mixer (or hand mixer) until creamy, about 2 minutes.
    • Gradually add the Stevia, beating at medium speed until light and fluffy.
    • Add eggs, 1 at a time, beating just until blended after each addition.
    • In a medium bowl. Sift together flour, baking soda, and salt.
    • Add to butter mixture alternately with buttermilk, beginning and ending with flour mixture. Beat at low speed just until blended after each addition.
    • Stir in vanilla and melted chocolate just until blended. Pour batter into prepared Bundt pan.
    • Bake at 325° for 1 hour and 50 minutes or until a long wooden pick inserted in center comes out clean.
    • Cool cake in pan on a wire rack 15 minutes; remove from pan to wire rack, and let cool until completely cool.
Cakes - GF · Cupcake Wars · Cupcakes - GF · Gluten Free

Strawberry Wine Cupcakes

After a week off, we are back to doing cupcake wars and deciding which cupcake recipes will be the 4 we will do on our “competition day”. This week was strawberry wine.

With spring coming up we were trying to find something with fruit. We have realized this one does not tie into our theme of Harry Potter. So this one or our next fruit one will be the first cupcake we do in 45 minutes, not one of the themed ones.
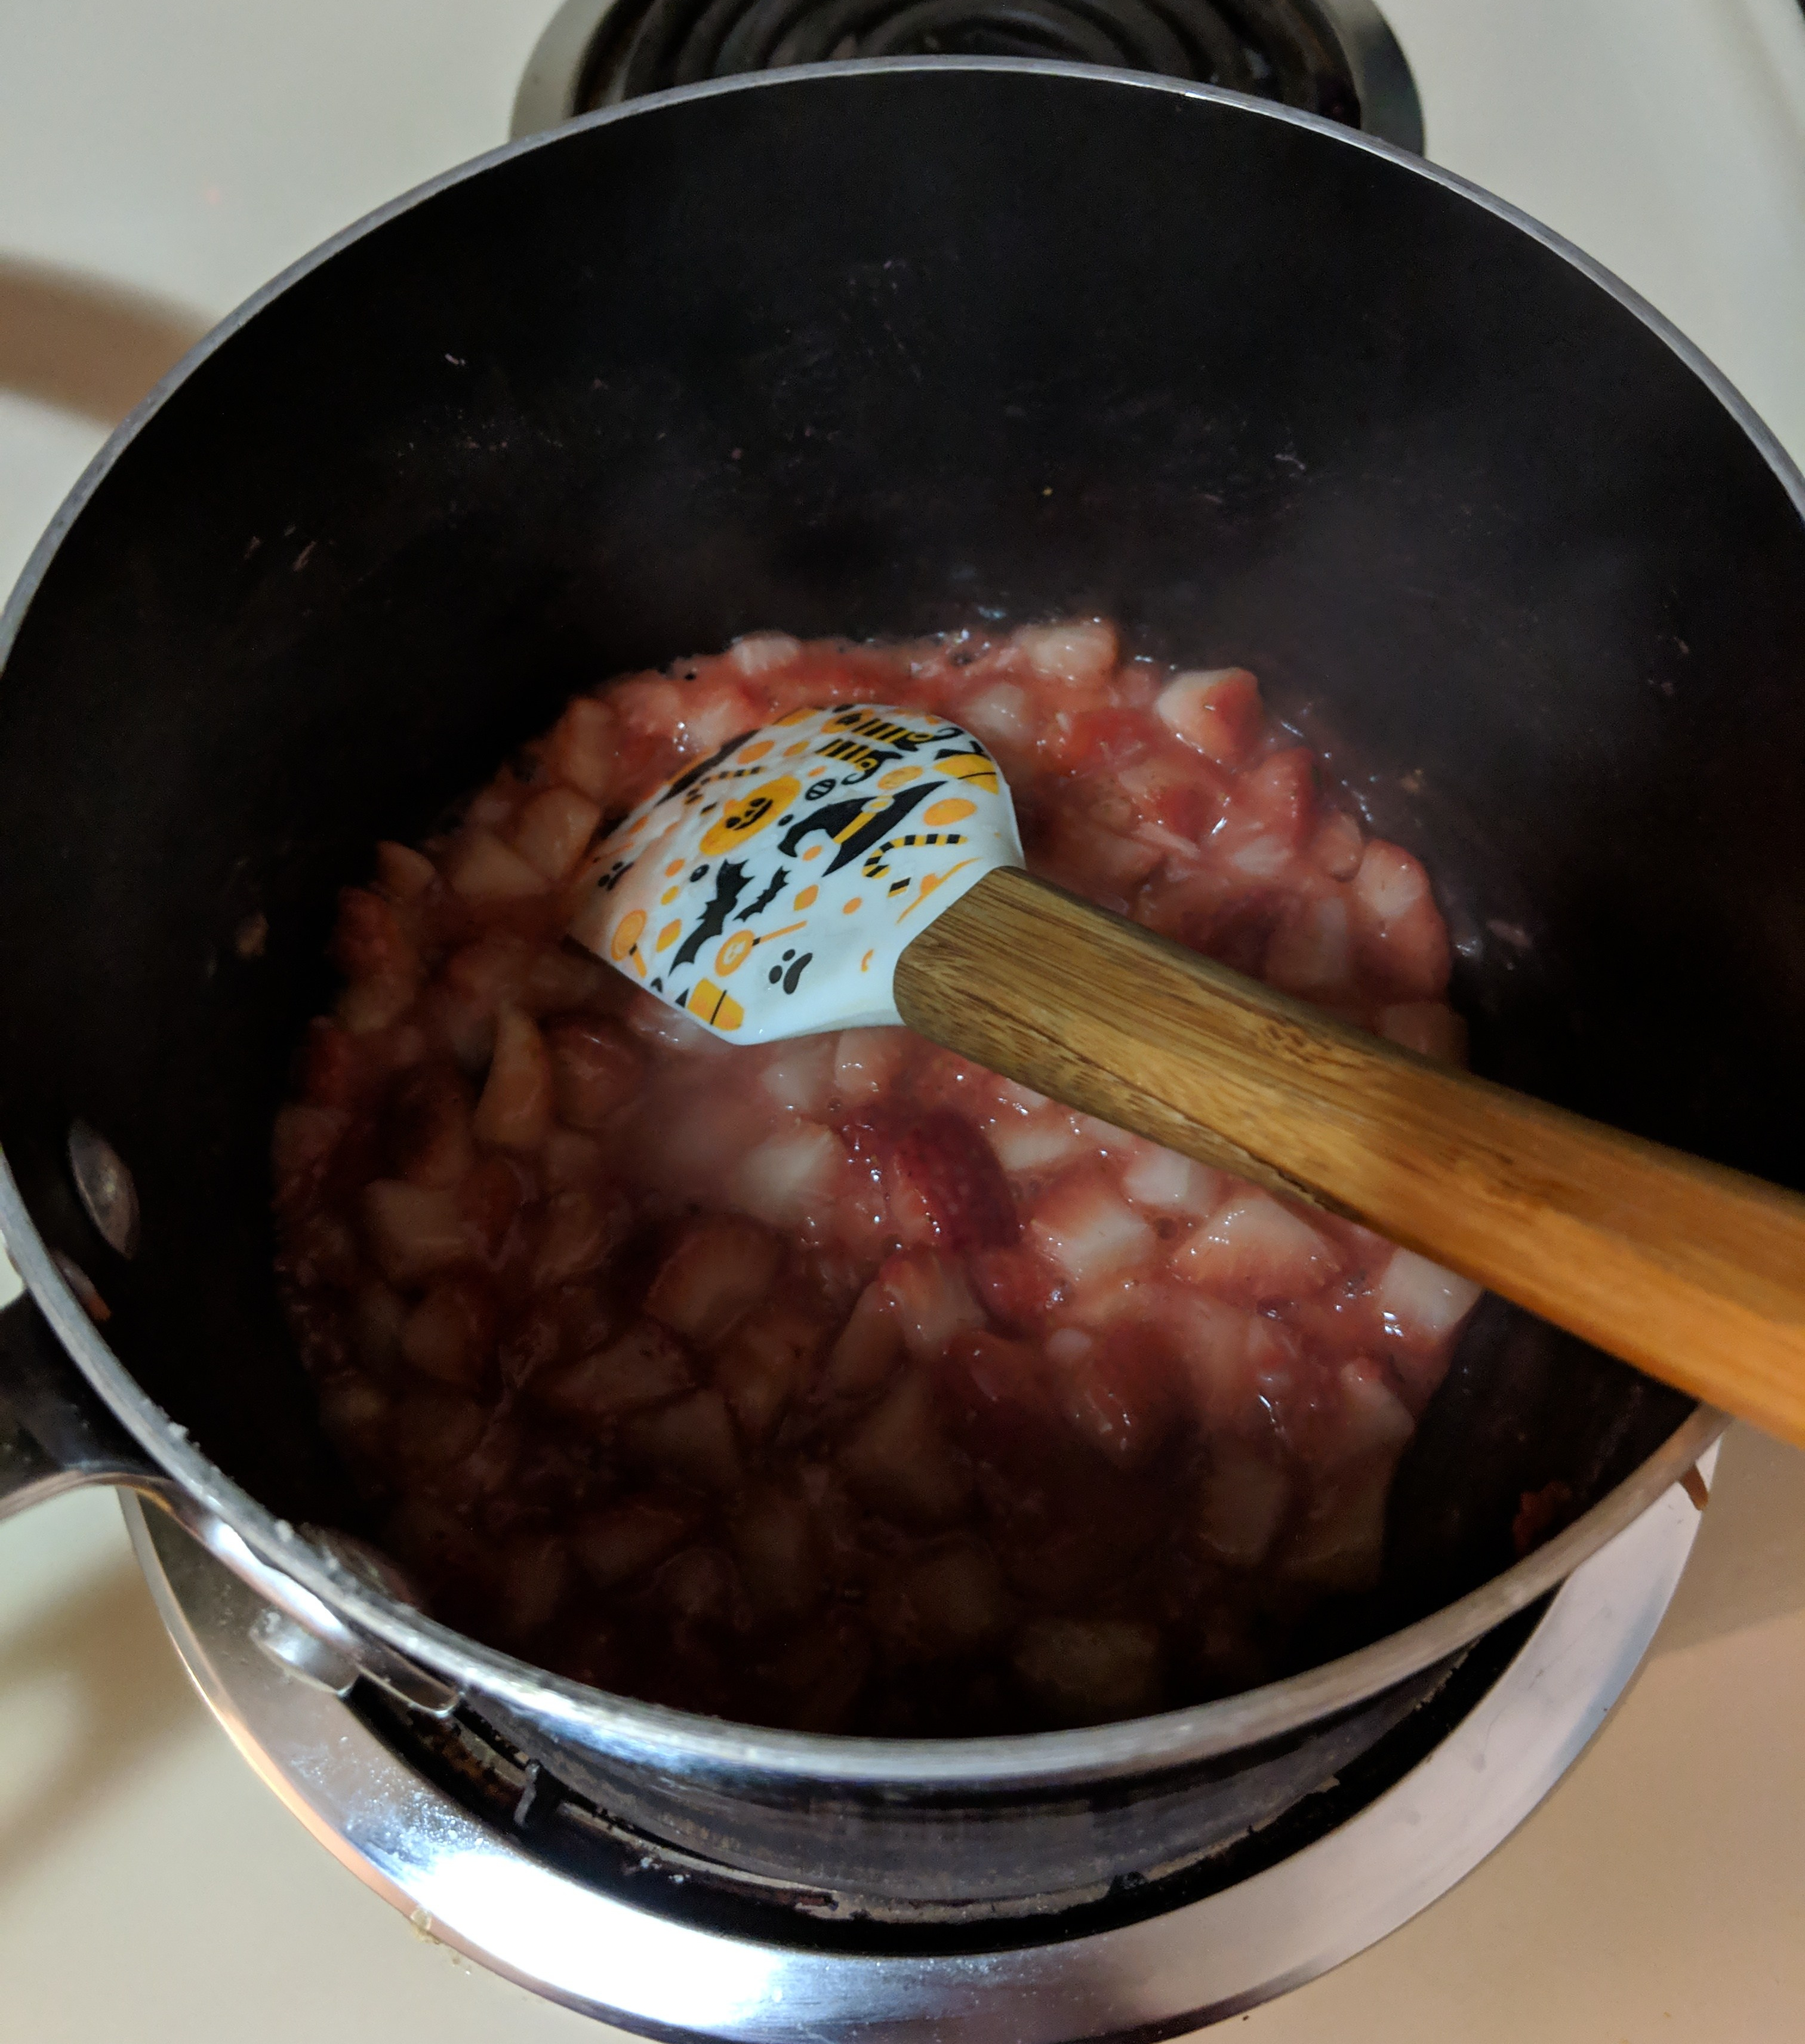
We started off doing great. Amber (my best friend) got started on the cupcake batter and I worked on the strawberry compote. We got the cupcakes in the oven after 20 minutes.

Compote
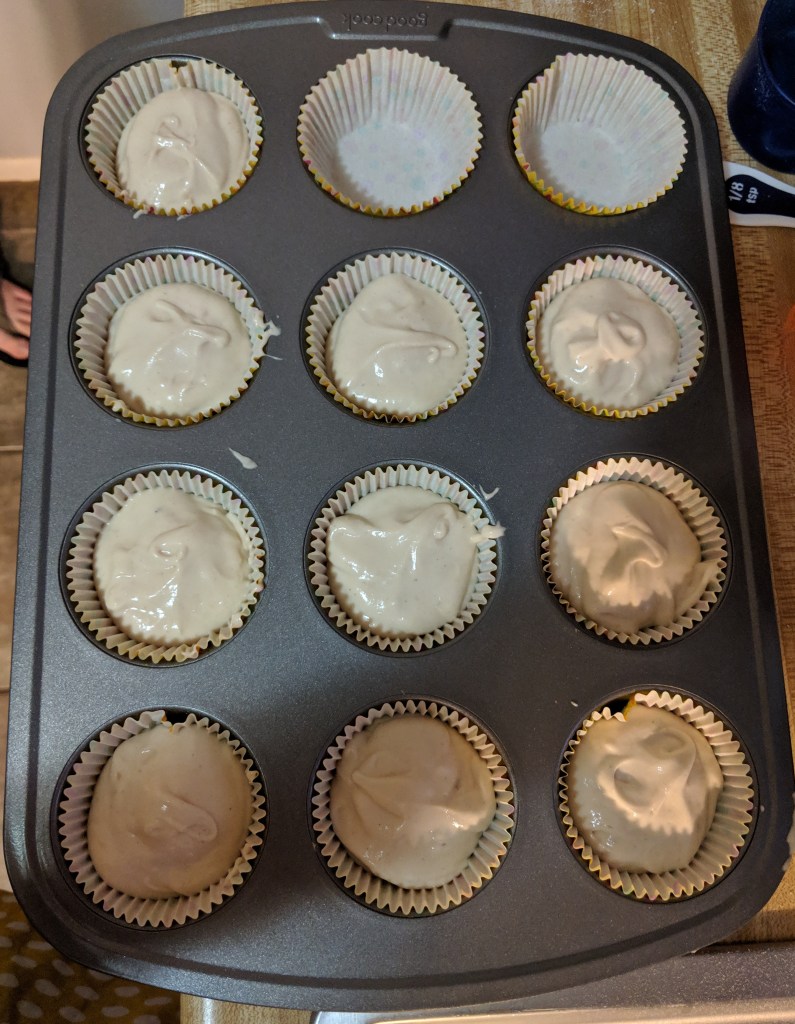
Makes only 10 cupcakes
Batter


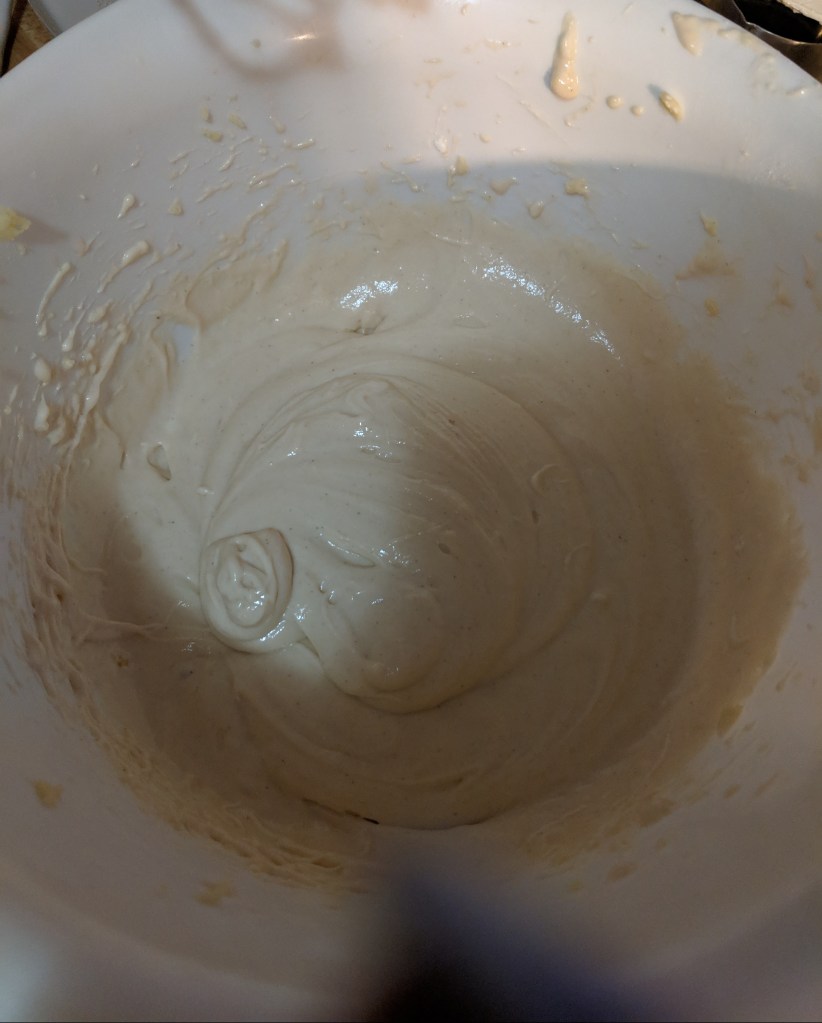
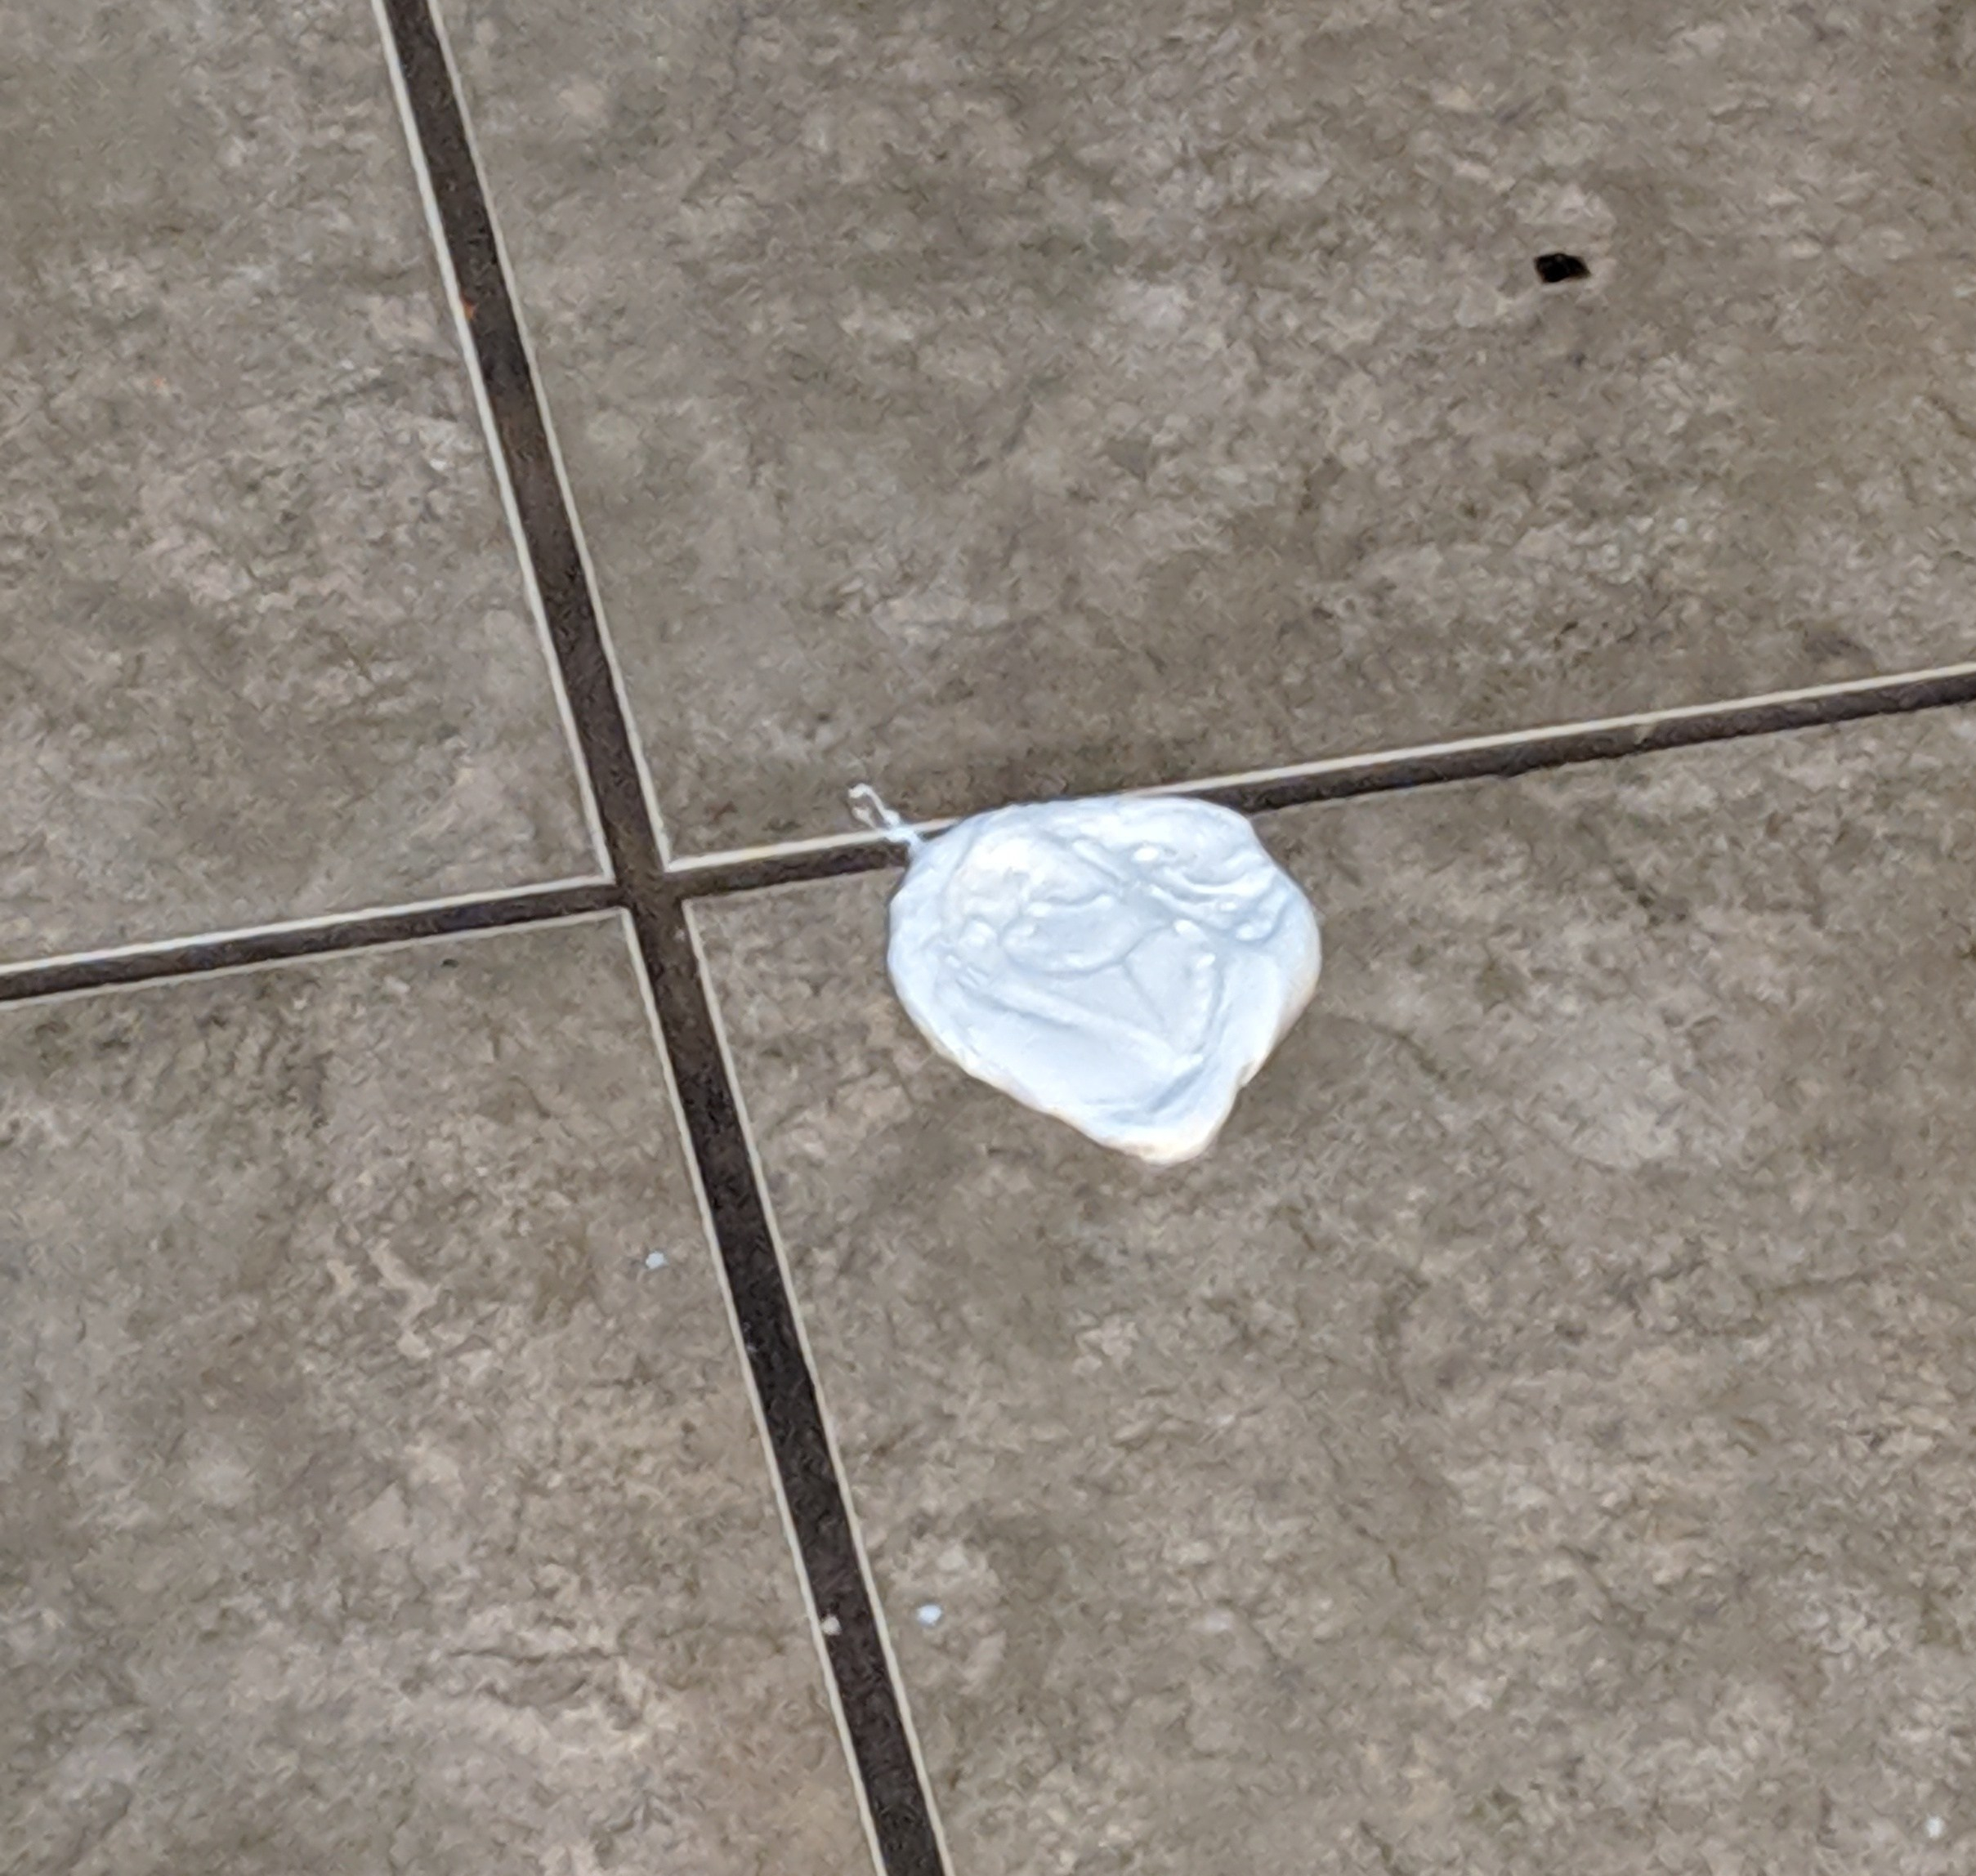
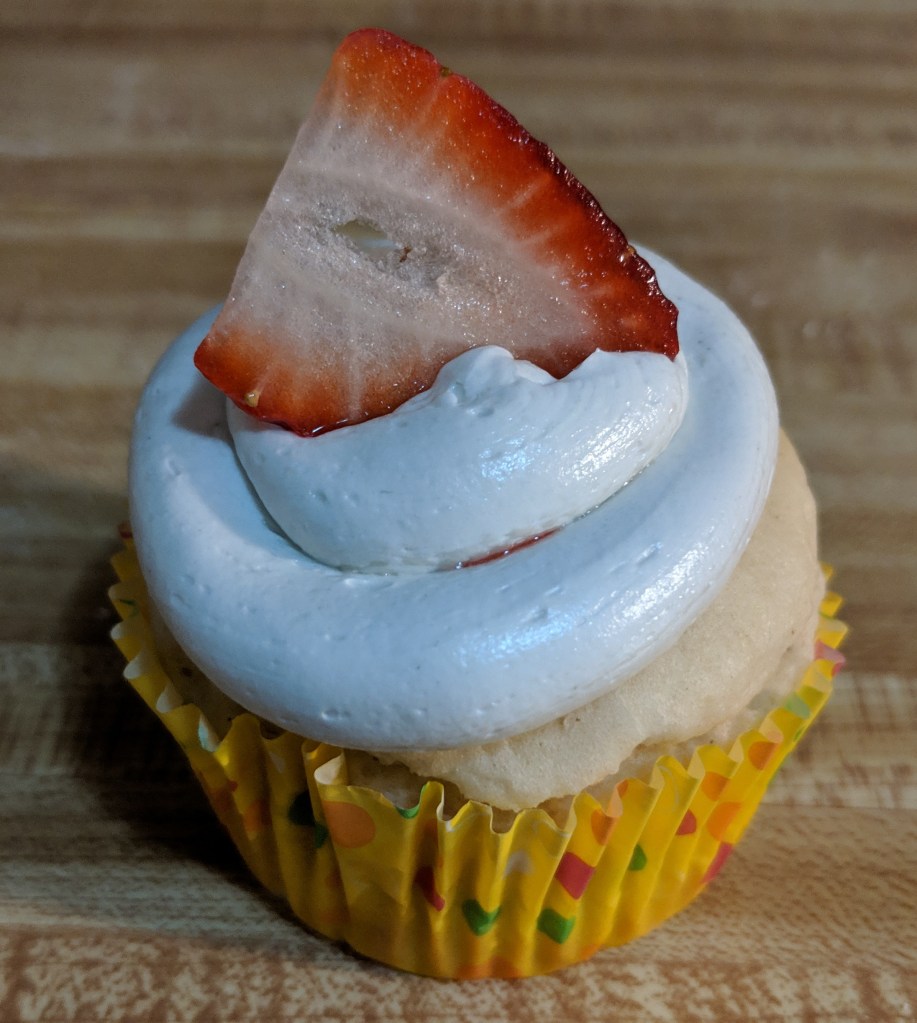
Then the frosting. We were doing the same Swiss buttercream recipe we used on the Bacon Maple Cupcakes but all we had was problems. First, we ended up scrambling the eggs. Second, we used the wrong sugar. Third, it turned blue/purple? That one we have no idea what in the world happened. And finally, some ended up on the floor. It did not taste good. But it ate up the rest of our time. Well, that and the last step…
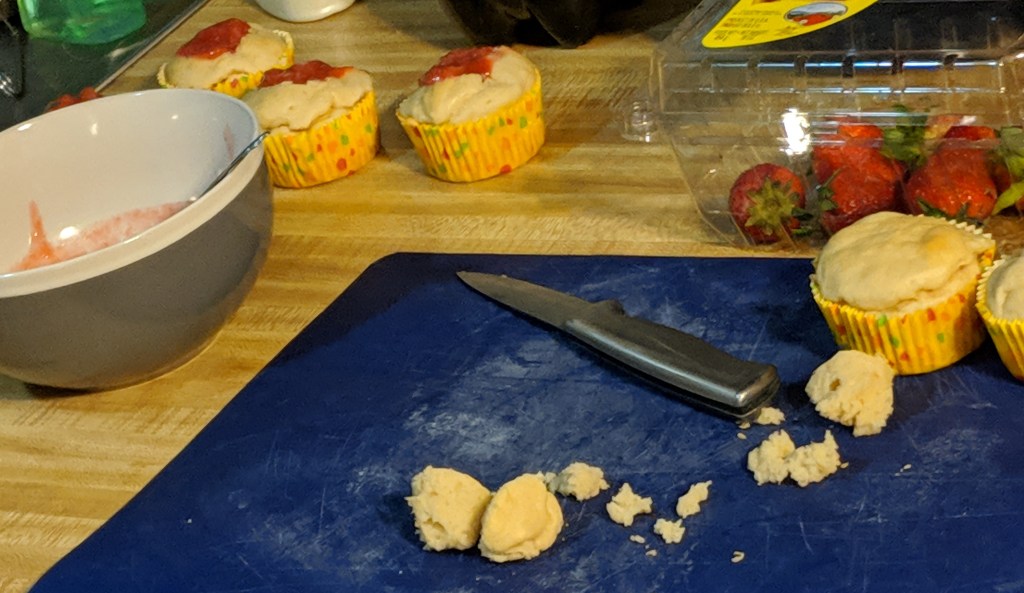
While Amber was wrestling with the frosting… I took the cooled cupcakes, cored the center and filled them with strawberry compote.

In the end… we decided to only frost a few to taste all together and for a picture. The rest I just filled with compote and ate throughout the week. The cake is absolutely delicious! It is moist, spongy, and so good. The frosting we know is good, we just had an off week.
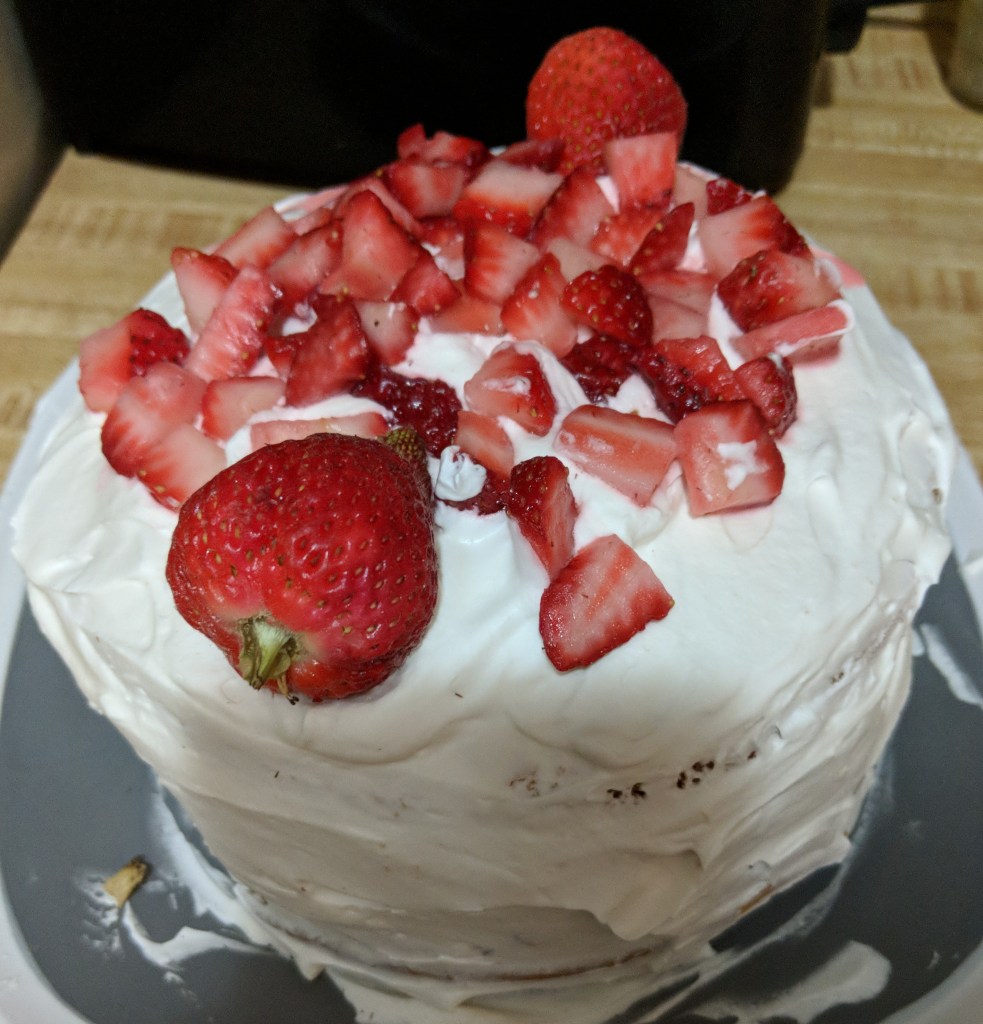
A few days later I was asked to make a strawberry creme cake. I used this same recipe using a 6 inch by 2 inch round cake pan. For the frosting, I simply used whipped cream beat into extremely stiff peaks. It was just as good as the cupcakes. So I highly recommend.

Cake Version
Finished Cupcake


Below is the recipe for the Gluten Free/Low Sugar Cupcakes/Cake. It was adapted from Beyond Frosting: Strawberry Rose Cupcakes

Tune in next week for Chocolate Bundt Cake


Strawberry Wine Cupcakes

Ingredients

  • For the cupcake:
    • 1 1/4 cup Stevia
    • ¼ cup vegetable oil
    • 2 large eggs
    • 1 teaspoon vanilla extract
    • ¼ cup natural sour cream
    • 1 ¼ cup Gluten-Free all-purpose flour
    • 1 ½ teaspoons Gluten-Free baking powder
    • ½ teaspoon salt
    • ½ cup sparkling Strawberry Moscato
    • 3 tablespoons Soy milk
  • For the strawberry compote
    • 10 ounces strawberries, chopped
    • 1 tablespoon Stevia
    • 1/2 tablespoon Gluten Free all-purpose flour
    • 1 tablespoon lemon juice

Instructions

  • For the filling: (can be completed while cupcakes are cooking)
    • In a medium-sized sauce pan, combine the strawberries with the sugar and flour, stir well. Add lemon juice. Cook over medium-high heat until mixture starts to breakdown, boil and bubble, stirring frequently.
    • Reduce heat and simmer for another 5 minutes, stirring occasionally until the strawberry sauce starts to thicken. (Keep watch, this can burn quite quickly)
    • Remove from heat and allow the sauce to cool completely, refrigerating to help speed up the process. Sauce will thicken more as it cools.
  • For the cupcake: 
    • Preheat the oven to 350°F. Line a cupcake pan with cupcake liners. (Makes about 10 cupcakes)
    • In a large mixing bowl, combine the Stevia, vegetable oil, eggs and vanilla extract. Beat on medium speed until the eggs and oil are well incorporated and the batter is lighter in color, 2 minutes.
    • Next mix in the sour cream and beat until well combined.
    • Add half the flour followed by the baking powder and salt. While still beating on low speed pour in the Strawberry Moscato and mix just until the flour starts to incorporate.
    • Add the remaining flour until just incorporated
    • Finally add milk one tablespoon at a time, beating until combined before adding the next one. Scrape down sides and ensure batter is well mixed.
    • Take the batter and fill each liner 2/3 full.
    • Bake for 18 – 20 minutes. Test the doneness of the cupcakes. These cakes tend to need more oven time than you would think.
    • Cool Completely
    • Take a cooled cupcake and core the center of the cupcake using a knife or a cupcake corer. Fill the center of the cupcake with the cooled compote. Repeat until all cupcakes are done.
    • Frost if desired.